

최적화 공부를 해오면서 현재 진행하고 있는 프로젝트 마지막에 최적화를 진행해보려고합니다.
랜딩 페이지(Landing Page) 최적화 계획
1. 불필요한 html,css 수정
2. Sementic Tag 적극사용
3. constant를 적극활용해 map 메서드 사용 (코드 간소화 작업)
4. Next.js Link 컴포넌트 사용으로 view에 들어왔을때 해당 href 경로 페이지 미리 frefetch 하도록 수정
5. Next.js 기본으로 지원해주는 dynamic사용으로 컴포넌트 동적으로 가져오기
6. video 최적화 (mp4 => webm) - 크기 압축, 시간 단축
7. Framer Motion 공식 홈페이지에 나오는 module 사이즈 줄이는 방법 적용
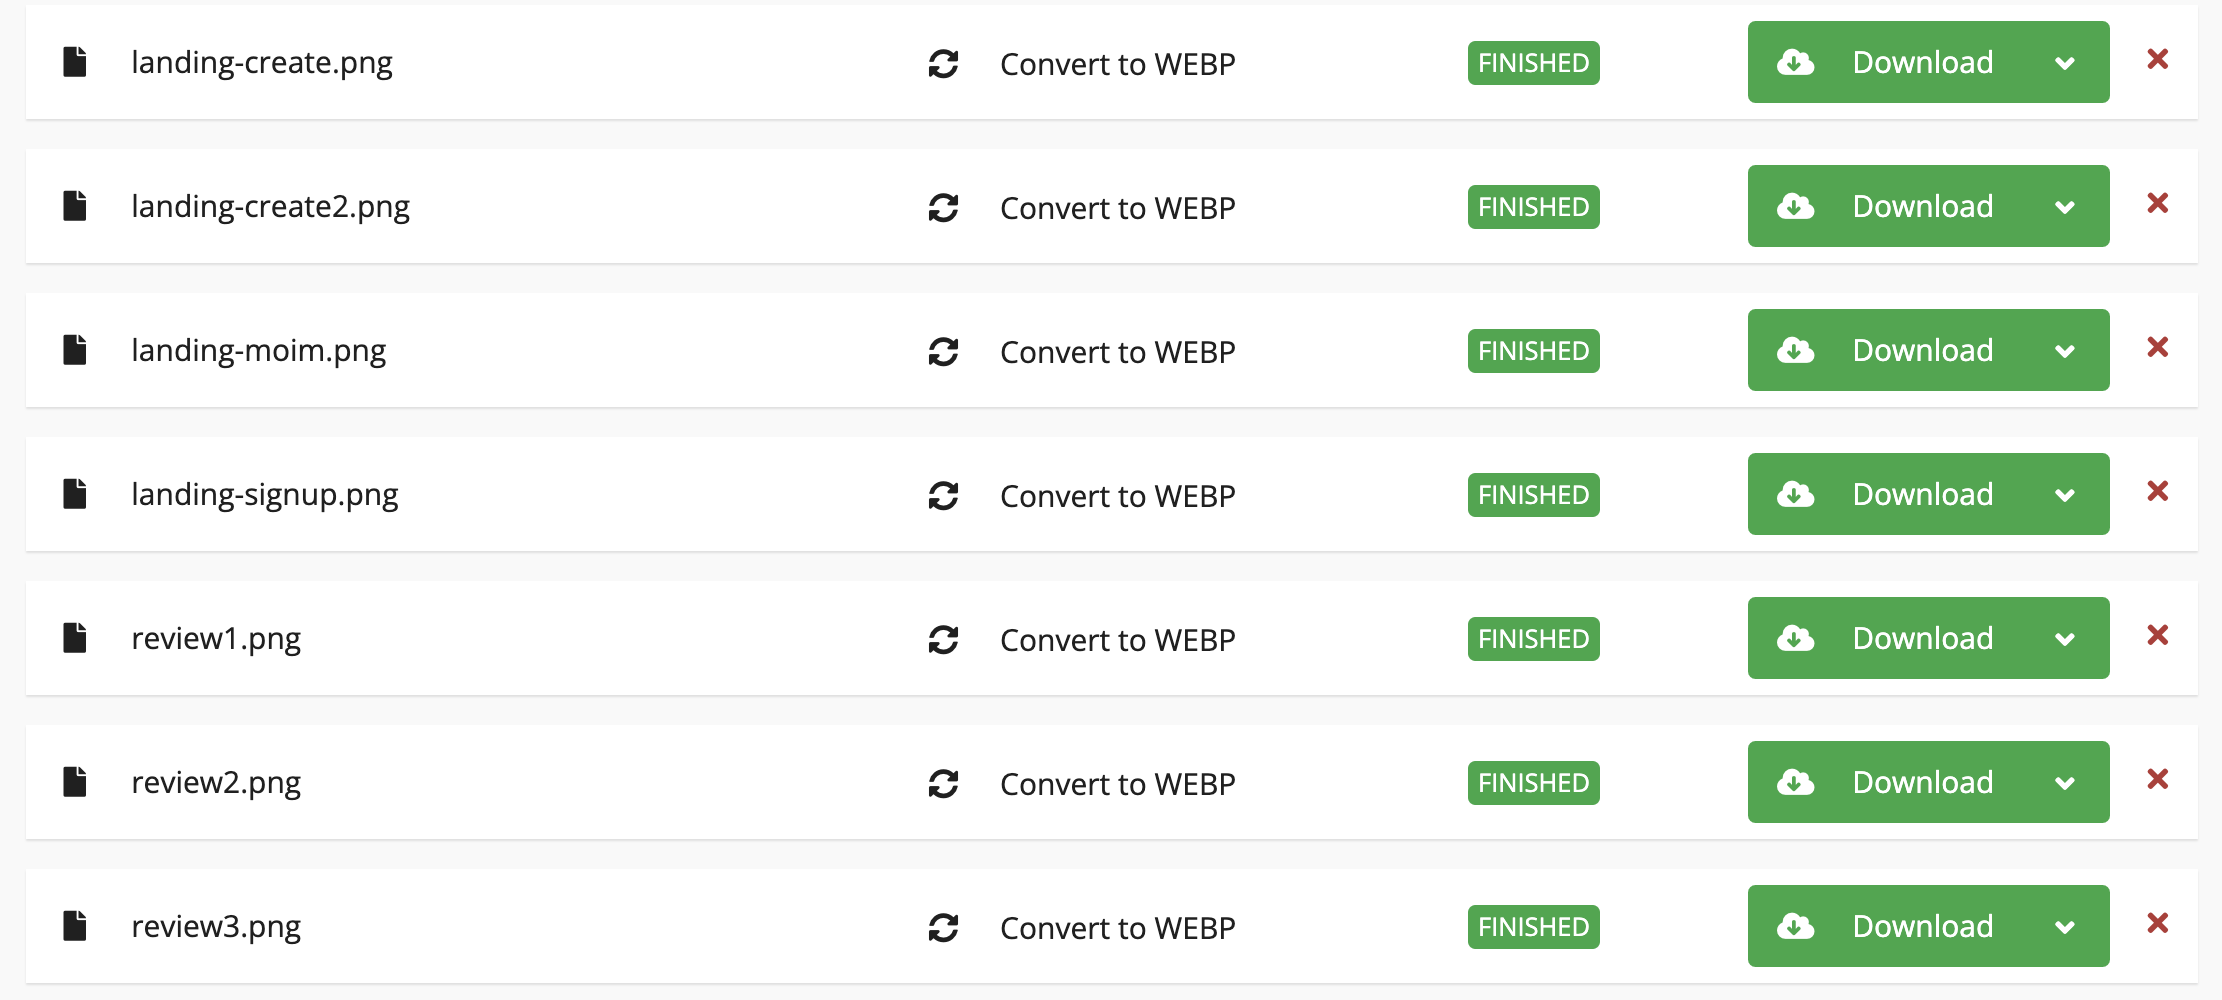
8. png => webp로 변경, 이미지 압축, avif 형식 먼저 사용 후 webp 사용
https://motion.dev/docs/react-reduce-bundle-size
Reduce bundle size | Motion for React (prev Framer Motion)
Learn what makes up Motion's bundle size, and how to reduce it.
motion.dev
최적화 하기전 렌딩 페이지 코드와 LightHouse 점수입니다. (정말 최악입니다..)


기존 코드
import { motion } from 'framer-motion';
import { useRouter } from 'next/router';

export default function LandingMain() {
  const router = useRouter();

  useEffect(() => {
    router.prefetch('/main');
  }, [router]);

  return (
    <div className="relative">
      <div className="absolute inset-0">
		<video muted autoPlay loop playsInline className="size-full object-cover">
          <source src="/video/main-video.mp4" />
        </video>
      </div>
      <div className="mx-auto flex min-h-screen w-full max-w-screen-pc select-none px-8 pt-[150px]">
        <motion.div
          initial={{ x: -10, opacity: 0 }}
          animate={{ x: 0, opacity: 1 }}
          transition={{ duration: 0.9, ease: 'easeInOut', delay: 0.4 }}
          className="absolute flex-1 space-y-10 text-balance font-bold text-white"
        >
          ...
          <button
            type="button"
            onClick={() => router.push('/main')}
            className="flex w-fit gap-2 rounded-lg bg-black p-4 text-13-16-response text-white duration-300 hover:bg-gray-900/80"
          >
            모임 참여하기
          </button>
        </motion.div>
      </div>
    </section>
  );
}
최적화 후 개선 포인트
1. 무분별한 div태그 사용 x
2. Framer Motion 공식문서에서 제공하는 번들 사이즈를 줄여 가지고 오는 방법 적용
3. useRouter 사용안한 이유 - 페이지에 처음 들어오자마자 다른 페이지 받아오는 비용을 감소 시키고자 view에 들어올 때만 다음 페이지 prefetch 가져오도록 Link 컴포넌트 사용
4. 비디오 형식 mp4 => webm 변환, 비디오 길이 31s => 20s, 비디오 압축 6.7MB => 4.1MB

5. Next.js가 제공하는 Dynamic(react의 lazy + Suspense) 이용해서 코드 분할(Code Splitting)적용
Dynamic 장점
1) 초기 번들 크기 감소
- 필요한 컴포넌트만 로드하므로 초기 로딩 시간 단축
2) 성능 최적화
- First Paint, TTI(Time to Interactive) 개선
- 사용자가 실제로 필요로 할 때만 코드 로드
6. Framer Motion 모듈 사이즈 작게 가져오기
import * as m from 'framer-motion/m';
최적화 후 최종 코드, LightHouse 점수 입니다.
import { useRef } from 'react';
import { useInView } from 'framer-motion';
import * as m from 'framer-motion/m';
import Link from 'next/link';
export default function LandingMain() {
const ref = useRef<HTMLDivElement>(null);
const isInView = useInView(ref, { once: true });
return (
<header className="relative min-h-screen select-none">
<div className="absolute left-1/2 top-1/2 w-full -translate-x-1/2 -translate-y-1/2">
<figure>
<video muted autoPlay loop playsInline className="size-full object-cover">
<source src="/video/main-video.webm" type="video/webm" />
<source src="/video/main-video.mp4" type="video/mp4" />
</video>
</figure>
</div>
<m.article
ref={ref}
initial={{ x: -10, opacity: 0 }}
animate={isInView ? { x: 0, opacity: 1 } : { x: -10, opacity: 0 }}
transition={{ duration: 0.9, ease: 'easeInOut', delay: 0.4 }}
className="absolute left-5 top-1/3 -translate-y-1/2 font-bold text-white mobile:left-10 tablet:left-20"
>
<h1 className="text-landing-title leading-[100%]">
...
</h1>
<p className="mt-6 text-16-20-response font-medium">...</p>
<p className="text-balance text-16-20-response font-medium">...</p>
<nav className="mt-10 w-fit rounded-lg border border-gray-400 bg-blue-900 px-6 py-3 duration-300 hover:bg-blue-800">
<Link href="/main">모임 참여하기</Link>
</nav>
</m.article>
</header>
);
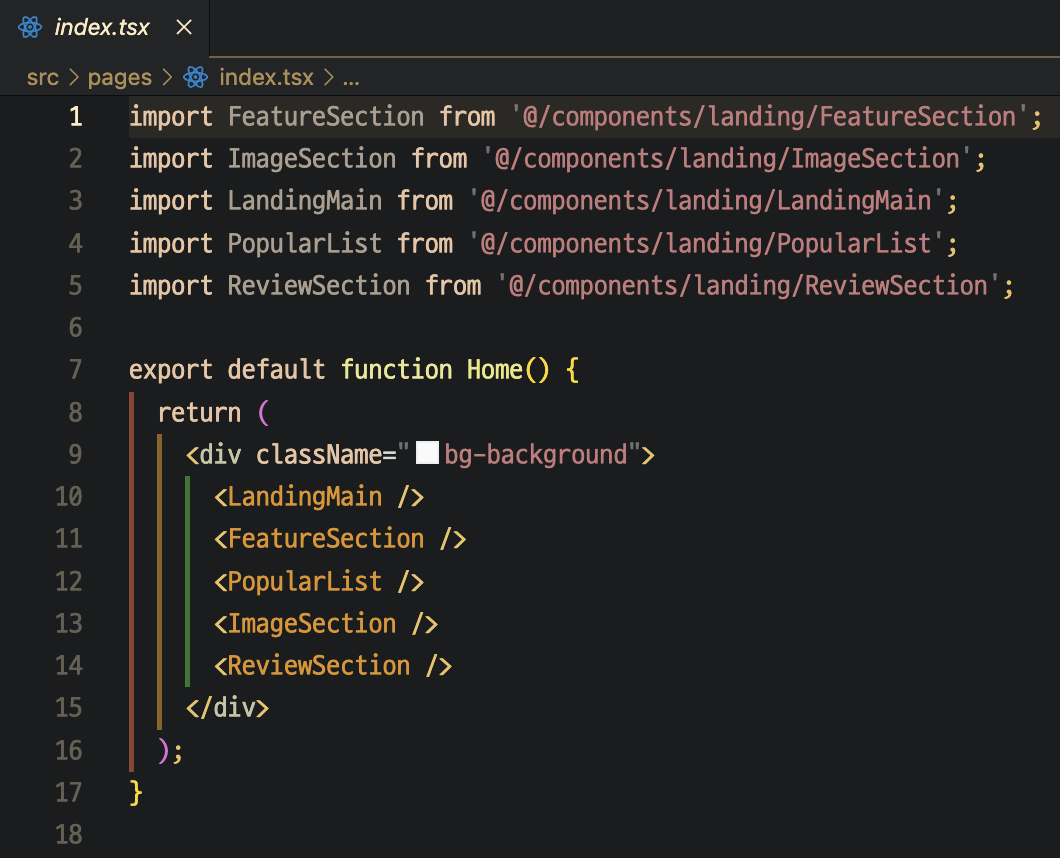
}import dynamic from 'next/dynamic';
const LandingMain = dynamic(() => import('@/components/landing/LandingMain'), { loading: () => null, ssr: false });
const LandingFeature = dynamic(() => import('@/components/landing/LandingFeature'), { loading: () => null, ssr: false });
const LandingPopularList = dynamic(() => import('@/components/landing/LandingPopularList'), { loading: () => null, ssr: false });
const LandingPrimary = dynamic(() => import('@/components/landing/LandingPrimary'), { loading: () => null, ssr: false });
const LandingReviewSection = dynamic(() => import('@/components/landing/LandingReviewSection'), { loading: () => null, ssr: false });
const LandingScrollToTop = dynamic(() => import('@/components/landing/LandingScrollToTop'), { loading: () => null, ssr: false });
export default function Home() {
return (
<main>
<LandingMain />
<LandingFeature />
<LandingPopularList />
<LandingPrimary />
<LandingReviewSection />
<LandingScrollToTop />
</main>
);
}
png => webp로 변경, 이미지 압축, avif 형식 먼저 사용 후 webp 사용
기존 landing 페이지 png 이미지들을 webp로 변경 후 이미지 압축 했습니다.

next.config.mjs 설정파일에 이미지 형식 설정 추가합니다.
images: {
    formats: ['image/avif', 'image/webp'],
  },
이미지 최적화 적용 후 모습


빌드 후 LightHouse 점수는 95점 이상 입니다.


성능 개선 결과
Lighthouse 점수 변화
Core Web Vitals 개선 수치
번들 사이즈 감소량
페이지 로딩 시간 개선
느낀점
진짜 프론트의 마지막은 최적화라는 걸 공부하면서 너무 많이 느꼈고 똑같은 프로젝트 화면만 보다 보니 익숙해져서 별 차이를 못느낄 줄 알았는데 개발자가 느끼는거면 유저의 경험도 충분히 좋아질 것으로 본다
사용자 경험 개선 초기 로딩 속도 향상 점진적인 로딩으로 인한 부드러운 UX
프론트엔드 공부일지 입니다.
포스팅이 좋았다면 "좋아요❤️" 또는 "구독👍🏻" 해주세요!